etsy.com/shop/TheStubbornBubble

Showing posts with label D.I.Y.. Show all posts
Showing posts with label D.I.Y.. Show all posts
Sunday, September 27, 2015
Milk and food coloring!
So I'm sure you've seen the video with the milk and food coloring. Where the person in the video drops different shades of food coloring into a plate of milk and then adds a couple of drops of dish soap and then all of this crazy magic happens. As soon as I saw the video for myself I had this idea in my head that I had to make a video back ground using this method. First let me just let you know that alternative milks do not work. I drink almond, coconut or rice milk mostly due to a mild dairy allergy and I just couldn't get the same effect using my alternatives. When I finally got some good ole fashioned dairy milk it worked like a charm. (I'm assuming it has something to do with the enzymes, but I'm no scientist.) Any way I set up my dish and my light and my camera and before you know it I had action! :D So I thought I would share my results I am still playing with the footage and I can't get enough of it. I have a feeling I will be recreating a lot of shorts and promos with this footage and more footage with this method as well.
etsy.com/shop/TheStubbornBubble
etsy.com/shop/TheStubbornBubble
Friday, December 19, 2014
Cheap & Easy D.I.Y. Floors
We are re-doing our floors!
Our house is a two bedroom two bath and in those two bedrooms is some very old long expired dirty yuky carpet. In the Bathrooms and kitchen there's this (never looks clean) linoleum.

We have intended on changing the carpet since we bought the house but it's taken us four years to be able to afford it and even now it is very patience trying waiting for the payday to supply the next tool or product for the job so that we can move forward. So while waiting for the funds for the next step I thought I'd share a bit of what we are doing.
Initially we had intended to do wood floors in the bed rooms. Though as we have lived here we have come to despise the linoleum found in most of the rest of the house. Since wood floors can get expensive and tricky for diy newbs like us. I started looking around at other options. Coming across concrete staining. I thought that would look great in this house. Although upon further investigation it looked as though it would turn out to be a little to expensive for us still. And because of all of the cracks and chips and such in the concrete that we discovered that it might not give us the results that we wanted. So back to the drawing board it was. Thank the stars for Pintrest!
I'm sure many of you have seen the "paper bag floor" diy posted and pinned all over the web. Well guess what here comes another.
Why?
Because it's awesome and we can't get enough!
We started in the smallest room of the house to be sure we liked the process we chose and to get an Idea of the cost before moving forward. As well as to practice our technique before moving on to the bigger projects. Okay so here is what we did!
1st we had to rip up the horrible linoleum. YAY!

And then of coarse get the concrete beneath as clean as possible.
Fill in chips and cracks in the concrete that may have occurred over the years. With a concrete filler found at the hardware store.

And allow that to dry for the time suggested on the products instructions.
In the mean time. We started prepping the supplies needed for our new floors.
At the same hardware store we found this gallon of Elmer's Glue for I think between $14-$15.

We split that up in two halves between two empty gallon cartons previously used for water.

We filled each one half way. Emptying the Elmer's jug.

We then filled the remainder of the empty space in the carton with water leaving just a bit of space at the top so that there would be room for the two to move around and mix together. Then we shook them up. (while holding the lid so as not to wind up pouring glue water everywhere). It's a lot like the D.I.Y. mod podge post I did a while back for the D.I.Y. skull tables I also posted about for Halloween. Only this mixture is on a larger scale.

After that I improvised a disposable bucket using another gallon carton and cutting it like this.

So that's all ready now it's time to tend to the paper.
Again, Found at the same hardware store we picked up some builders paper.

We had to rip it up.

we poured the glue mixture into to improvised bucket.

One by one we crumpled up the paper pieces and dipped them into the glue. Then unraveled them and laid them flat to the floor pressing and smoothing them to the concrete. After every third or fourth piece we smoothed out the glue with a cheap synthetic paint brush.

By the time we covered the entire floor it looked something like this.

But don't worry the glue dries clear.
After the glue was completely dry we went over the floor with a satin finish clear epoxy sealer. That we found for around $30

We used this particular brand because it was the cheapest thing that we could find that we thought met our needs and preferences. In order to get the clear version we had to order it online and wait. As I have indicated before money is of concern for us and so you might choose a different brand if you can afford it. Although so far I see absolutely nothing wrong with this product. Should that change I will list it in my updates as I continue through my house with this project.
I applied seven coats of this. Following the directions for the epoxy I waited 2 hours between coats and it took a few days after the last coat to be really solid (we had cold weather outside so it took a bit long to cure)
After all was done this is the bathroom floor I am left with.

Close up of the texture.

You can apply a stain (wood stain) between gluing the paper to the floor and sealing it if you want a different color. But again we are trying to save as much as possible on this project and we both liked the look of the raw color of the paper. So we left it as is.
I will likely revisit this subject in future posts as I finish the rest of my house but I was so excited with my new bathroom floor that I just couldn't wait to share.
If I wasn't planning on selling this house I might have done things more artistically.... Maybe my next home.
If you try this for yourself please leave me a photo or a link to your own blog post about it in the comments. Also we still have two bedrooms a bathroom and a kitchen to finish so if you have any helpful tips please comment and share them with me. The hubby and I will appreciate all of the help we can get to getting this done faster, cheaper and as beautifully as possible.
Thank you!
Saturday, November 29, 2014
Sweet Coconut cream, A dairy free whipped cream alternative!

I was told by my doctor a few years ago that it would be wise for me to avoid dairy. I was having some sinus issues and he explained that dairy was prone to causing allergies. I reluctantly took his advice and have to admit that since doing so I can see a connection. I don't have to completely eliminate dairy altogether but I have to pay close attention to how much I have and how I am feeling. I love dairy though. Cheese, cream, chocolate etcetera it's all good to me!
So I had to seek alternatives. One of the first dairy free recipes that I tried was this dairy free whip cream. So after checking out multiple blogs that showed how to do this with caned coconut milk. Involving placing the can in the fridge over night so that the cream will gather at the top and then using only the bit of cream from the top and discarding or finding another use for nearly an entire can of coconut milk. I found that the Trader Joes extra thick and rich coconut cream works just fine at room temp and with very little to no waste. Check out the video linked below to see the way that I do dairy free whip cream!

Using just these three ingredients!

Add the coconut cream to your bowl with around a teaspoon or so of vanilla (or any flavor extract you choose). I start by adding 2-3 tbs of powdered sugar and begin mixing. From there I add the powdered sugar by tasting as I go, according to my preference that day. Then I place the mixture covered in the fridge for 15 minutes to an hour depending mostly on my patience. It will thicken upon cooling.
Make dairy free fruit cocktail, desert topping, or a dairy free sweetener for your coffee!


*Quick 4 minute video*
Some of the rings I am wearing in the video are available for purchase at my Etsy shop
The Stubborn Bubble https://www.etsy.com/shop/TheStubbornBubble?ref=hdr_shop_menu
And there is a diy blog right here on how I did the Skull tables in the photos.


Friday, October 31, 2014
DIY mod podge
Last night I started a DIY project that called for a lot of decoupage or mod podge. I transformed these two tables back to matching. As for how they got so miss matched in the first place that's all in the post titled "DIY Skull Tables" as well as the steps I took to complete the project. Follow the link to see that post.
DIY Skull Tables
DIY Skull Tables

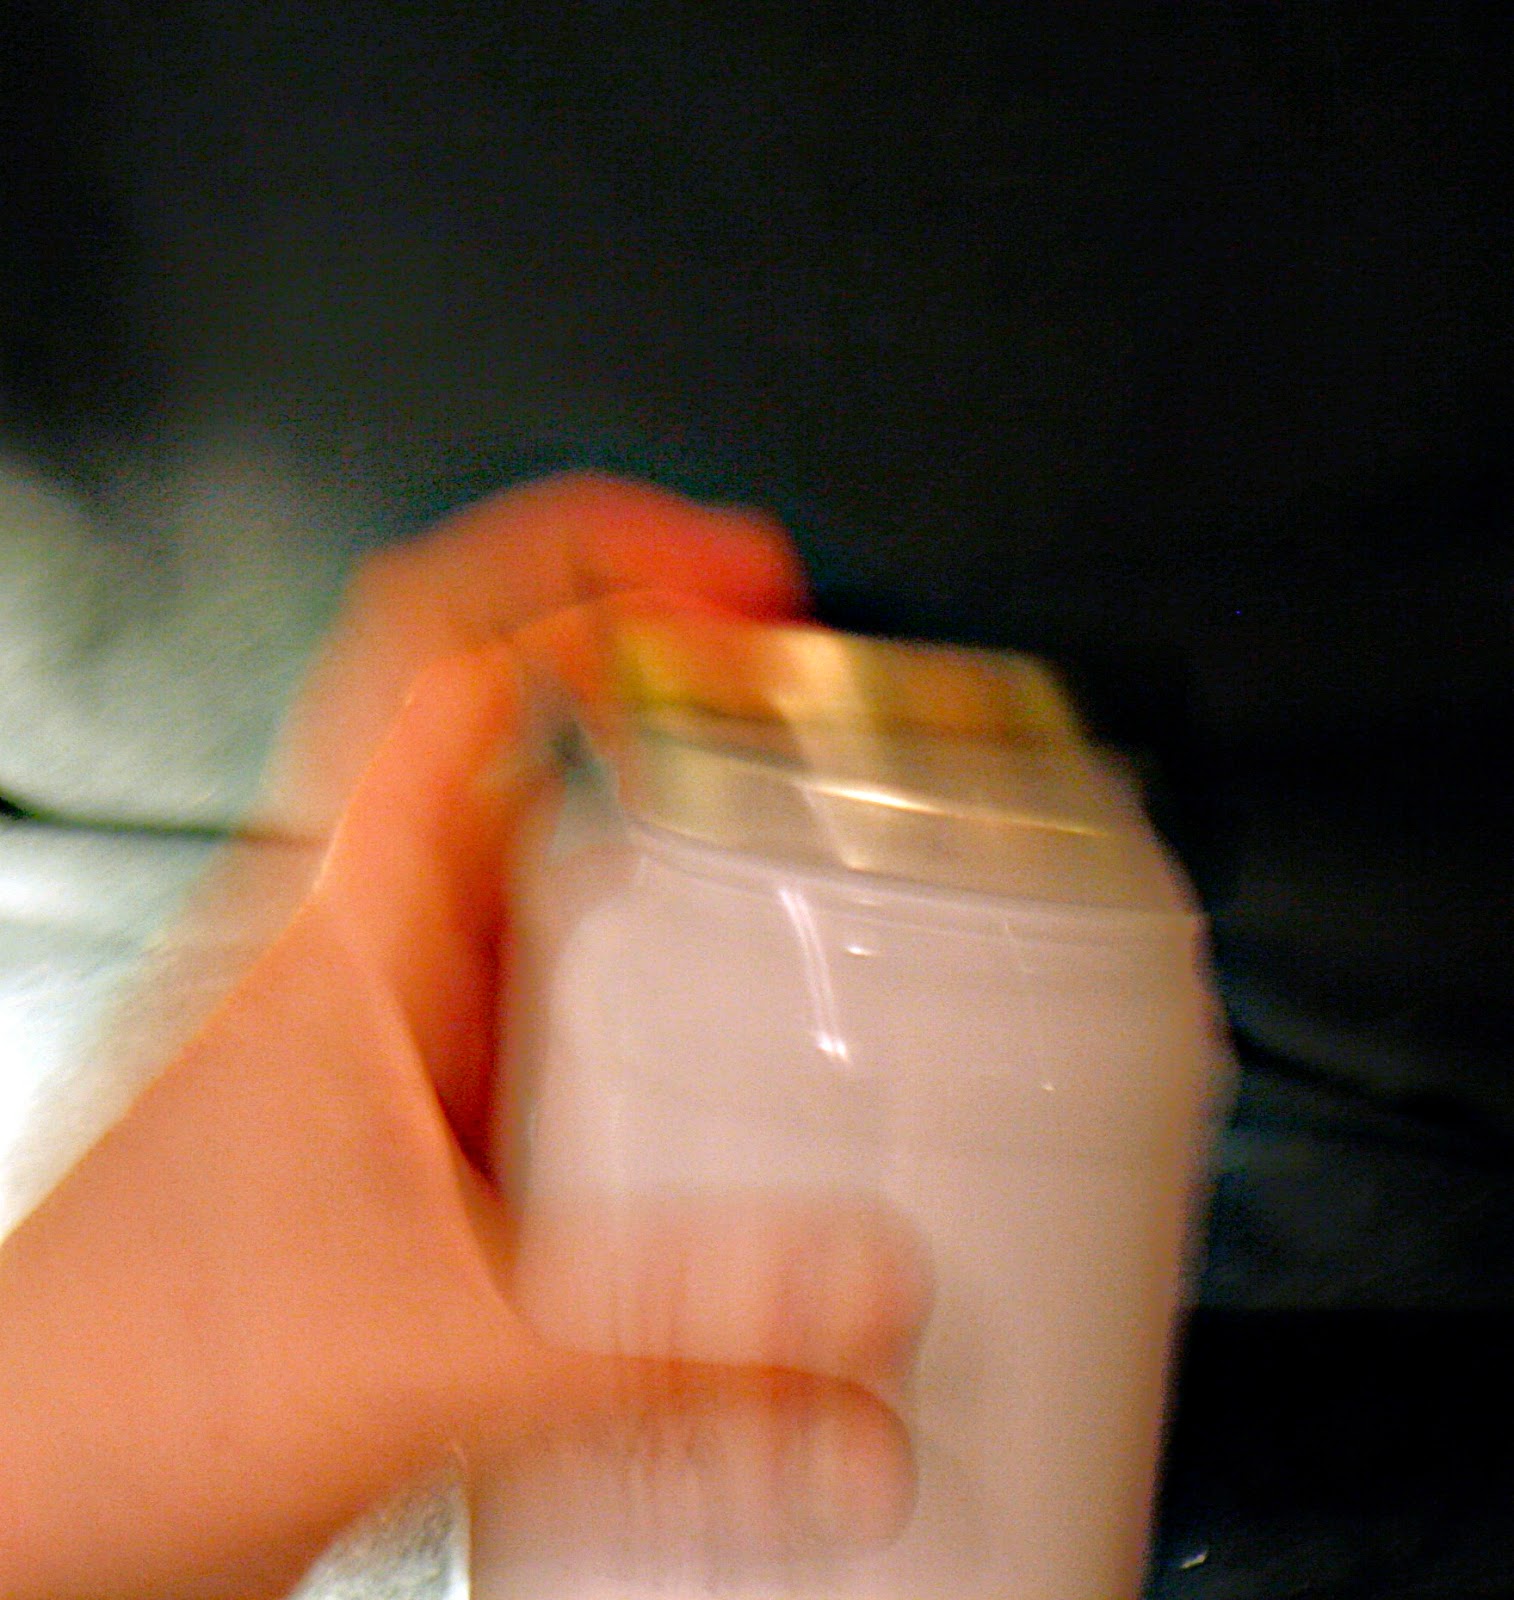
I didn't have that much mod podge on hand nor do I have the money at this time to buy enough. So I finally attempted at making my own. I don't think I will ever use anything else again for this kind of project. I was able to create it for around a dollar and it seems to be working like a charm.
So here's how I did it.
White Glue
I was able to get two for a dollar of this glue from the Dollar tree.

Pour the entire thing into a clean, suitably sized (or in my case over sized) jar.

WATER
Then fill the emptied glue bottle half way with water. and give it a few shakes to loosen up any of the glue still clinging to the walls. And pour that into the jar with the glue.


And Shake it like a polaroid picture..... or carefully and with a finger or two bracing the lid so that it doesn't come flying off and flinging glue water everywhere.... you know which ever.
I applied a quick crappy label .

Alright that's all I did! So after that I just got to podging and completed this little project...

Don't forget to go check it out.
DIY skull Tables
HAPPY HALLOWEEN!!
Last night My husband and I started a DIY that I have been meaning to get to for a while.
My sister in law gifted us these adorable tables last year for the holidays.

As you can see the year hasn't exactly been kind to them. As for the one on the right, I was not paying attention early one morning and applied a cleaner containing bleach to it and as I wiped away the mess the pretty red color went with it :\

So This definitely called for some DIY efforts. The hubby and I settled on one of my sketches for the new look. This Skull I sketched a few months ago.

It seemed just a perfect craft for the eve of Halloween and the perfect post for today.
Okay so lets get to the steps we went through to create these artsy table redos.
TEA PAPER
We used about four sheets of regular printer paper and black tea in the hopes that it would give the deepest color.

You can simply make a cup of tea (or a pot) and spoon out the tea bag/bags (if you have a partner) and enjoy your tea while you blot the paper with the bag. Or you can do what we did and just fill a bowl with warm water let it steep a tiny bit and then grab the tea bags from there. It does come in handy to have a bowl of water nearby to re hydrate your tea bags as you go.

Blot, smear, wipe, rub, splat or whatever just get the color from the tea onto that paper. Gently enough to avoid ripping the moistened paper or the tea bag of coarse.
Allow the papers to dry.

Clean and Sand Tables
While the tea papers dry is a good time to sand the table top. The abrasion gives something for the glue to settle into so that what your gluing has a better grip on what its glued to.

Print Image
I've been lucky enough to find this photo paper at the dollar tree. 8 sheets for just a dollar.

I printed my skull image onto this because my printer refuses to print a proper image on anything but photo paper.

(Print one per table.)
Rip it up
Rip around the edges.

Do both. They don't have to match exactly.

When the tea paper is dry. Rip away any flat edges.

From this......

To this....

Then rip the tea paper into irregular pieces.

Now it's time to start attaching the art to the table tops.
You can use any kind of decoupage method you choose including store bought mod podge. I took this opportunity to make my first attempt at making my own mod podge at home for under a dollar. I will put the recipe and instructions into a separate post linked here.
DIY mod podge

.
DIY mod podge
.
To adhere the paper to the table top I coated the area of the table that I was working in lightly with the DIY mod podge mixture. Then I coated the back of the paper to be placed.

Then flip it over and place it firmly where I want it.

Then mod podge over the top and around the edges.

All the way around the edges of the table in a circle making sure that the area that I leave exposed is small enough to be cover by my printed skull image.

Allow that to dry.
After it has dried it will become more opaque. If there are however any areas that didn't get entirely covered then just layer on some more paper pieces to cover them.
Once the paper is completely dry and covered to your liking. It's time to cut away the excess paper hanging over the edges of the table. Using a razor, box cutter, or x acto knife.

CAREFULLY! & like so... ( Only, please use two hands. I needed one to snap the photo)

You may notice some roughness around the edges.

Smooth them out by very gently sand papering them smooth just at the edge.

Apply the Skull
Using the same mod podge method as for the tea paper. I applied the mixture to the back of the skull image.

Placed it how I liked it best. Then coated the tops and edges as well as over the entire table top surface including around the edge of the table top.

Allow that to dry. Then apply a second coat. Apply as many coats as you think are necessary to keep the surface smooth enough that nothing will catch and rip up. However not so many that the solution clouds the image (unless that's the look you want. Just make sure to do it in layers so that it can dry thoroughly and wont be sticky)
After everything is how you want it. Coat it with a protective seal appropriate for the conditions your art will be in. I will use this spray seal because I have some left over from another project and it seems to have worked out well for me on that one.

My tables are still in the making right now I wanted to post this for Halloween so I will update this later with the finished photos.
Happy Holiday!
And don't forget to check out that mod podge DIY ;)
DIY mod podge
DIY mod podge
Subscribe to:
Posts (Atom)